A friend told me about this wheel cleaner from Sonax that turns red as it interacts with brake dust, so I decided to get some. Rather than go with the regular Sonax Wheel Cleaner Full Effect, I opted for the “plus” version which is 30% stronger. Let me tell you, this wheel cleaner is nothing short of amazing! Let’s try it on my incredibly dirty front wheels – this car was not washed at all throughout this very nasty winter and BMW brake pads are notorious for depositing huge amounts of sticky, black brake dust over the wheels in days. You can also see the missing roundel after the winter.
This was the starting point and it was far worse than what the picture looks like – this picture was taken after I sprayed down the wheel to knock surface dirt off, then I let it dry for this review.
I sprayed the Sonax on and watched it begin to turn a dark reddish/purple.
After a few minutes, I manually agitated the Sonax using a brush.
Then I sprayed it off.
This wheel was nasty and one application wasn’t enough. I probably didn’t wait long enough after the agitation step either. However, the wheel looks much, much better than it did! I followed up with a manual clean; the little remaining dirt (with the exception of some deep crud that was actually there from last year) came off with ease.
Check out how it cleaned around the valve stem & the hidden areas around the lug nuts.I wasn’t able to get to these areas by hand!
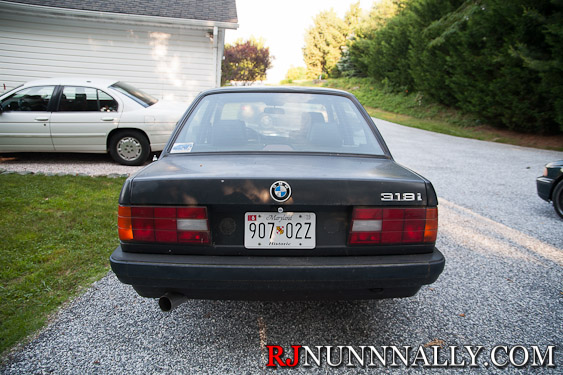
And the car looking sharp after the first, quick wash of the season.
Up next – new wheel roundels (logos) and headlight lenses! The winter was hard on the car this year 🙁
Pick up your Sonax at Amazon to have it shipped to your door at a competitive price. It also helps support the site!
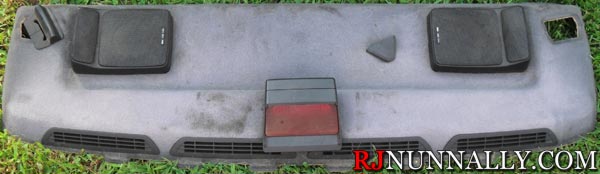
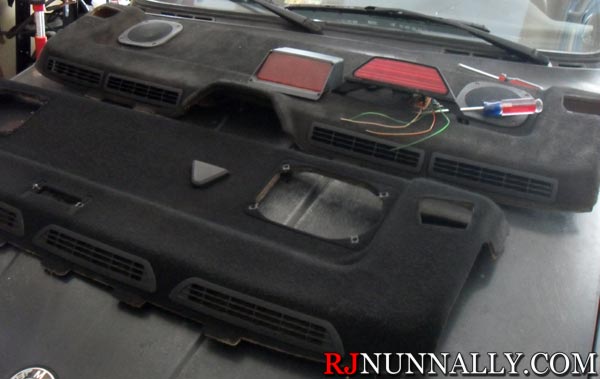
I picked up a (formerly) black parcel shelf complete with premium rear speakers for my e30 at the junkyard. Here’s how I renewed this parcel shelf with some vinyl dye and sweat.
First, meet my parcel shelf, complete with plenty of dog(?) hair.
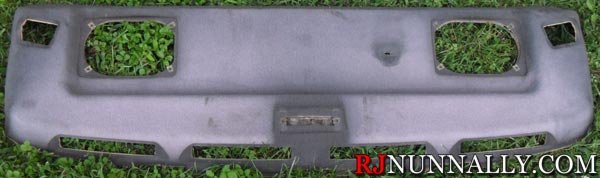
Next, you need to prep it for dye. This involves removing all the accessories, like the speakers, third brake light, vents, and seat belt trim. If your’s has a hair problem like mine, a lint roller will do wonders to clean it up. Remember – the key to a good final product is in the preparation!
All prepped!
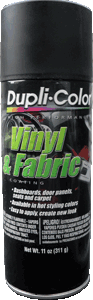
Now, get yourself a couple cans of vinyl dye. I used Duplicolor as seen here. One can will probably get the job done, but pick up two to be safe. Spray many light, consistent coats in many directions to get full coverage. Vinyl dye is more forgiving than spray paint, but if you go heavy in one place – well, you’ll need to go heavy everywhere for it to look right! You will be fine just spraying dye on the parcel shelf, but for carpet or other “deep” fabric, the dye will need to be brushed into the fabric for full coverage. Once you get one good coat, let it dry for 15-30 minutes, then hit it again. I went with at least three coats to achieve my final finish. Again, vinyl dye is forgiving – it doesn’t really run and just gets absorbed into the material, but heavy applications will make cloth materials feel stiff.
Here’s my first coat
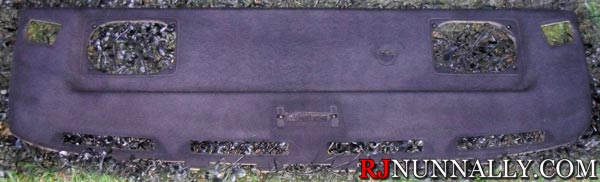
And eventually you’ll end up here, the bottom result. The top was dyed by my friend and requires more coverage. On the plus side, it’s been exposed to constant sun for over a year and has not faded!
One of the tag lights was out on my e30 making for a good mod opportunity. I figured LED lighting would help update the look of car, so I ordered these guys from Amazon.
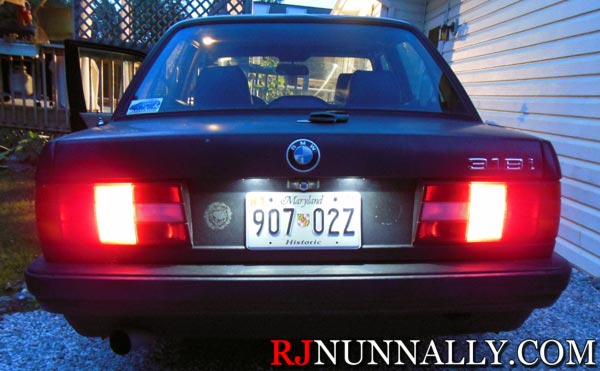
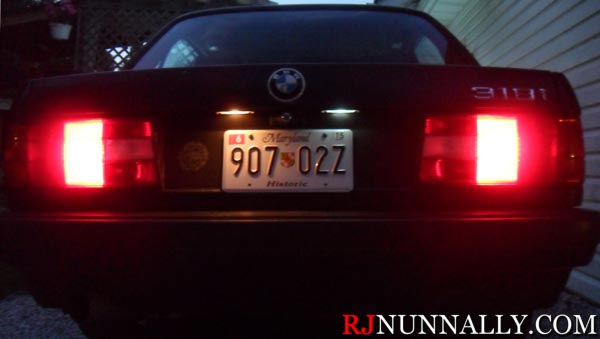
E30 rear at dusk with LED tag lights
They look good to me! I know the camera doesn’t do the best job, but just compare the license plate white to the yellow light given off by the incandescent lights in the background!
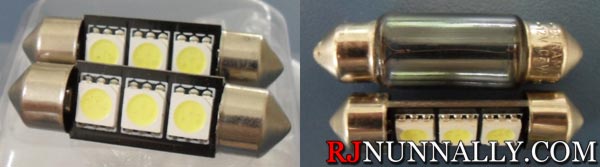
New LED lights on the left, comparison of the original halogen light vs an LED light right
Installation is a snap too. Just find your tag lights, remove the screws (hopefully they’re not as rusty as mine!), pop the light out, replace the old halogen lights with the LED replacements, and reinstall. Be sure to test the LEDs prior to reinstallation – direction matters. Also be sure to orient the LED facing down.
Here’s a quick comparison of new vs old:
Old halogen light (left) vs new LED light (right)
Note: The LED rotated in its socket as I installed it for this shot. The new LEDs are actually much brighter (as seen in the opening shot).
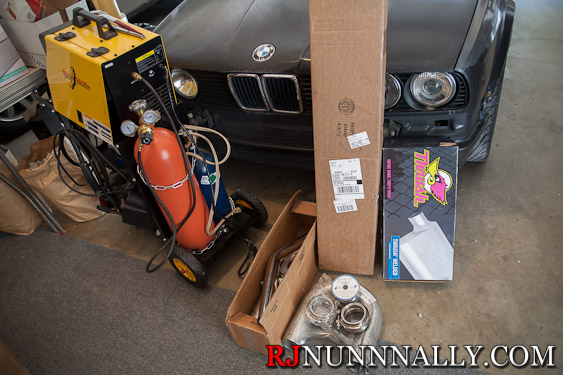
After fitting the longtube headers per this post, I had to fabricate the rest of the header back exhaust. I completely green fielded this exhaust and opted to go completely custom rather than try to adapt an e30 or e36 catback. My plan was to Y the headers together into a single 3″ exhaust pipe and run a rather loud Thrush 17661 Welded Muffler. Due to packaging challenges, I wanted to make the Y section removable so that the headers can be removed or installed with the engine in the car.
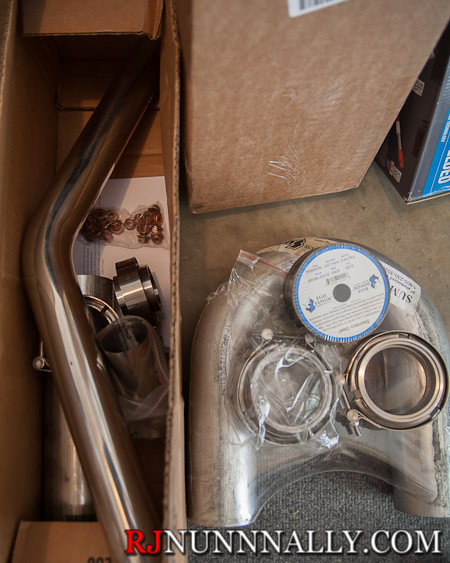
Exhaust parts – or trying to wear out the credit card
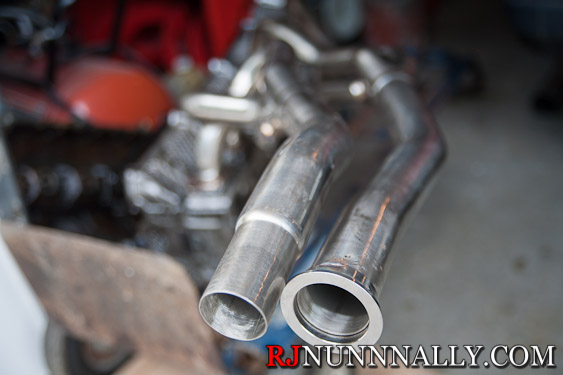
I started by breaking out a spare head and mounting the headers so that I could mock the Y section up off the car.
Note that these cheap headers neck down to 1.75″ on side but stay 2″ on the other side… very odd indeed. I tacked on the first 2″ v-band for fitment in this picture. Also notice that the 1.75″ side has a bend that causes it to intersect & interfere with the other side. This is fixed by cutting it at the bend.
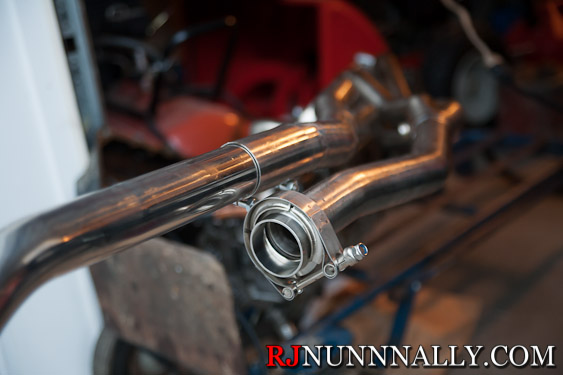
And another angle
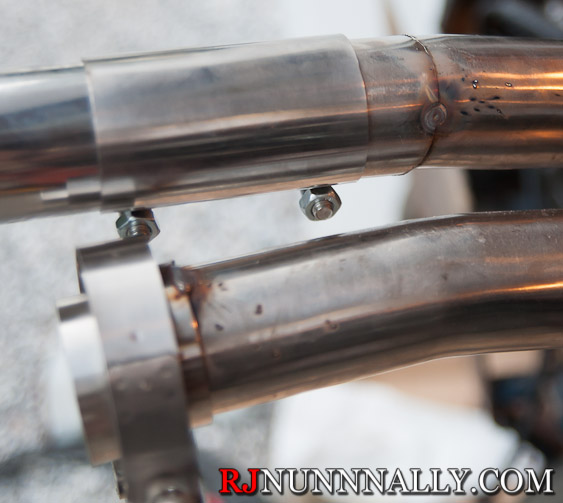
I should also take the time to mention that I have very little experience with welding, so please take it easy on me! The 2″ sleeve clamp pictured came with the headers and I actually decided to use it after seeing how tight the clearance would be with two v-bands – perhaps I’ll update the design to use both v-bands in the future. I continued to work on the Y and used the 2″ stainless tubing with the 45″ mandrel bend to make the Y.
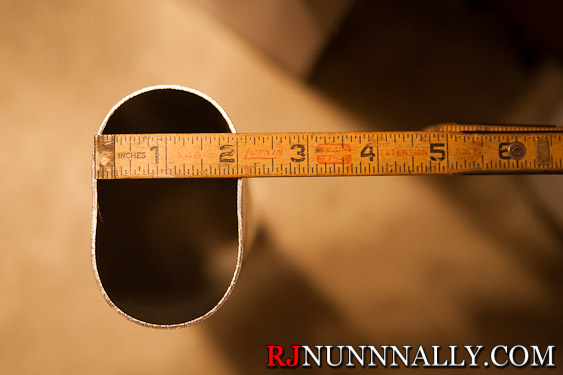
This was then dumped into a 3″ stainless steel tube. I clamped one end of the 3″ tubing in a vice until it was flattened to 2″ on one side.
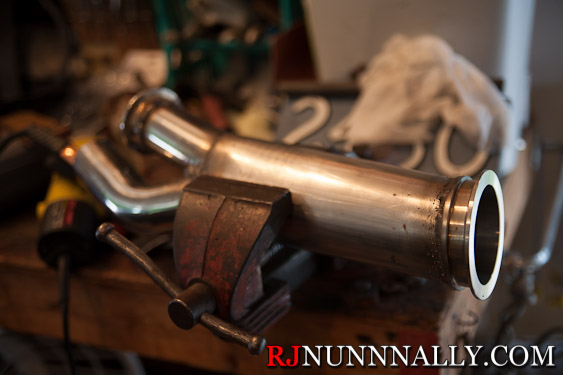
Then it was all welded up, and a 3″ stainless v-band was welded on.
I didn’t want to spend a lot of money at this time, so I continued the rest of the exhaust in aluminized, mild steel. Stainless steel and mild steel expand at different rates and should not be welded together, although ER309L can do it. Because they expand at different rates, any welds between stainless & mild steel tend to crack after they have been heat cycled many times. I addressed this problem by using the v-band as the transition point. I bought identical 3″ stainless & mild-steel v-bands, then used one stainless v-band and one mild steel v-band to join the mild steel exhaust to the stainless exhaust. The mild steel exhaust section is not pictured as it is very simplistic.
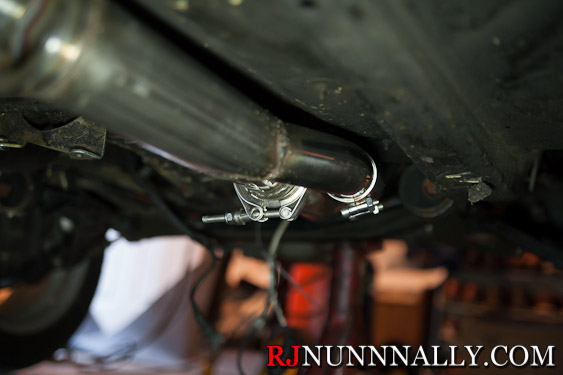
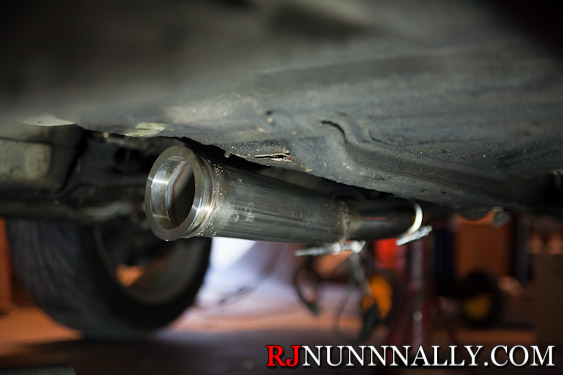
Fitment under the car
And showing where the 3″ section begins under the car
Finally, here’s the end product
Video:
Closing notes – the exhaust is LOUD and raspy. When I say, I actually got pulled over on the way back from the alignment shop, maybe 12 miles after the car was running. The LEO said, and I quote, “Dude, your exhaust is WAY too loud. I heard you a mile away!” I would suggest getting a different muffler or at least adding a resonator. The 3″ tubing is also very large. 2x 2″ exhaust actually flows better, but it doesn’t hang as low under the car. The 3″ hangs low under the rear subframe and looks like it could easily scrape. Other than that, it worked out pretty well!


 After a few minutes, I manually agitated the Sonax using a brush.
 Then I sprayed it off.