One night I was grabbing a drink from the kitchen when I noticed blinking amber lights from the driveway. I thought my alarm had gone off so I tried to unset it to no avail. I walk out to the car to find all the parking lights on, the taillights on, the hazards blinking away, and the instrument cluster lit up with the message “Lights On.” After pressing the hazard button, turning the car on/off, and of course trying to the light switch, I started pulling fuses Unfortunately, that didn’t quite do the trick and I had to disconnect the battery. Obviously something is messed up. My first guess? LCM.
My car is a 6/96 build 540i. That means that it is equipped with an early LCM, the LCM II; the LCM III and IV will interchange, so this Monday I came into possession of an LCM III from an ’01 X5. Time to find out what happens tonight!
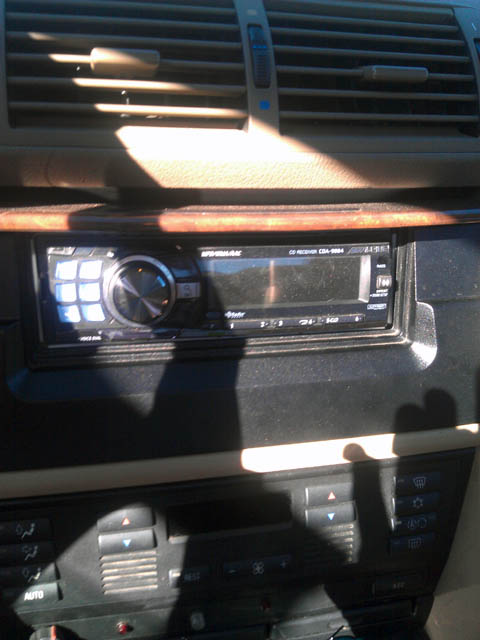
Lights on and blinking. Side note, I really need to dehaze my headlights. Here you can see the gauge lights are on, but the light switch is off (you can also see the turn signals are on). That ain’t right!
 To repair an LCM fault on a 1996-2003 e39 528i, 530i, 540i, or M5, you will need a new or used LCM that is the same or newer than the unit you are replacing. Here I have an LCM/LKM from a 2001 X5.
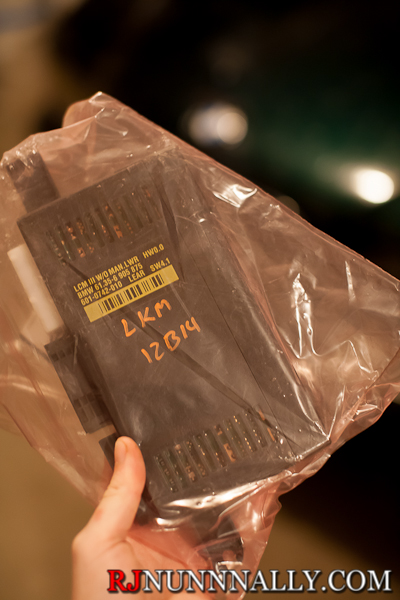
To physically replace the LCM/LKM, the following tools are needed:
- 8mm ratchet
- (optional) PA Soft 1.4.0 cable & software
- OBD-2 (16 pin) to 20 pin BMW Diagnostic Port adapter, required for PA Soft on cars that have the 20 pin Diagnostic Port
Really, It’s a simple job. Just follow these simple steps:
- Disconnect battery
- Remove the passenger side kick panel, under the glovebox and on the right.
- Remove glove box under panel, pull it straight forward. It takes some force to unclip.
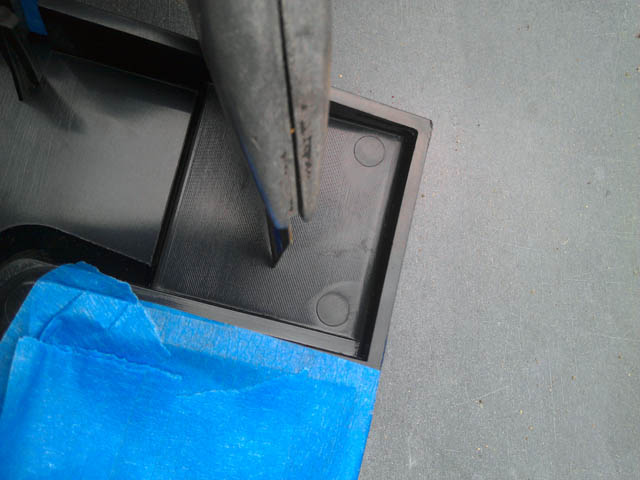
- Look to the right, you can see the LCM. Move sound deadening out of the way.
- Using 8mm ratchet, remove the single 8mm bolt holding the LCM in place.
- Slide LCM down and rotate out
- Unplug electrical connectors
Assembly is the reverse.
On a scale of 10, this is a 2/10 job, it is super easy once you orient yourself.
Without coding, my lights more or less work correctly. As the LCM I bought is from an X5, I didn’t expect everything to be fully functional. My interior lights, headlights, and brake lights work as normal. My taillights light up the outside bulb, but not the inside (there are normally two lit), but they work well enough for now. The turn signals do not work at all, but curiously the hazards do. The high beams also do not work. It turns out that early and late model (including X5) cars have different hiring for the turn signal stalk. Coding fixes this.
To go with the above instructions, here are pictures of my repair process:
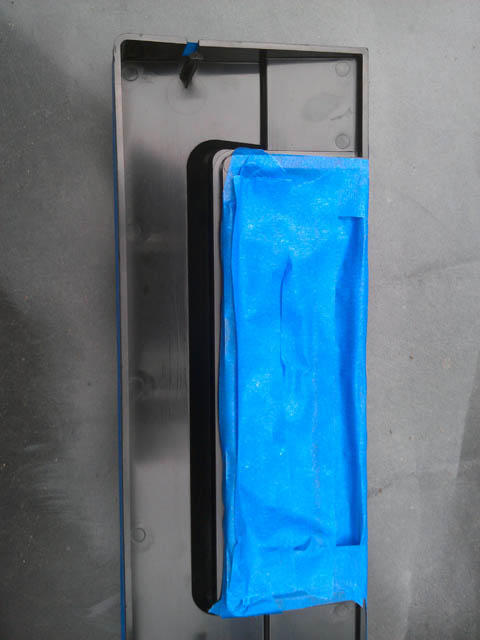
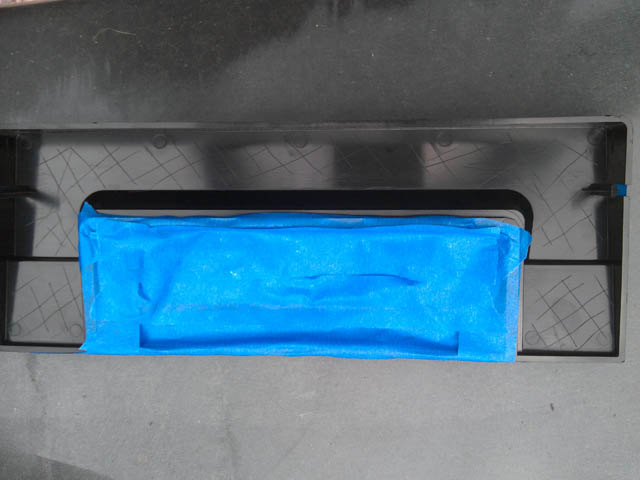
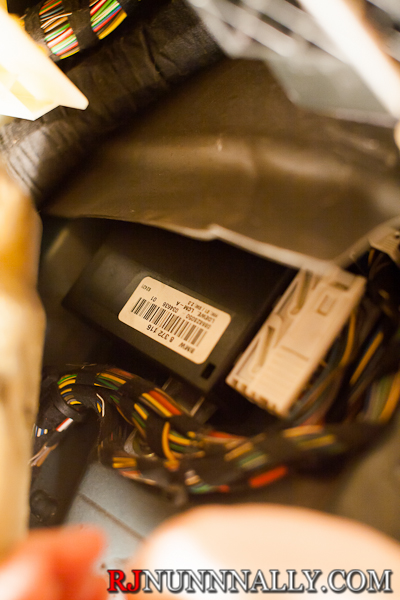
Old LCM in its home
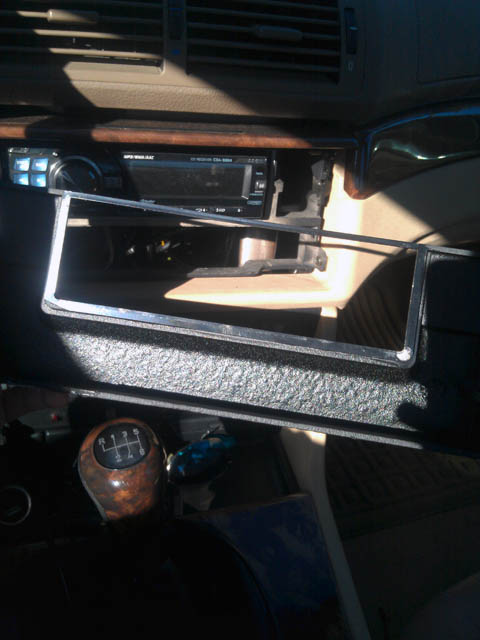
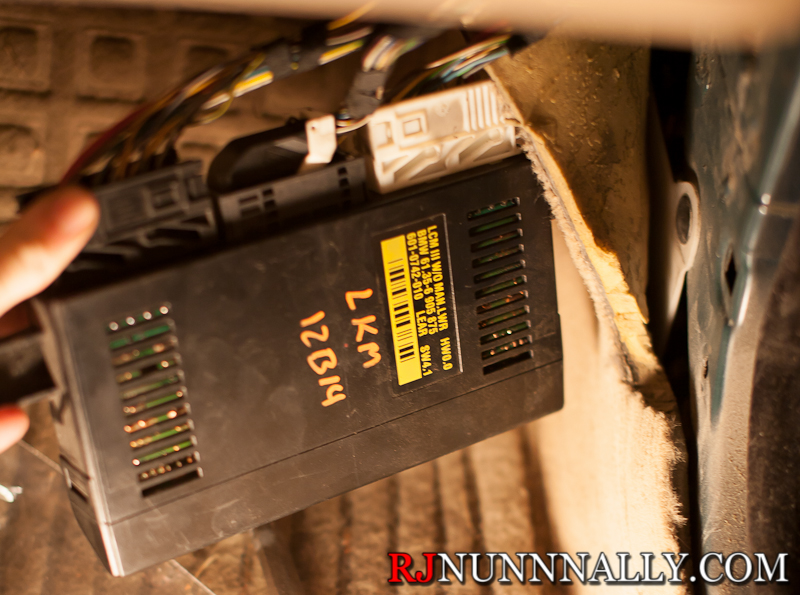
New LCM plugged in, but not yet secured
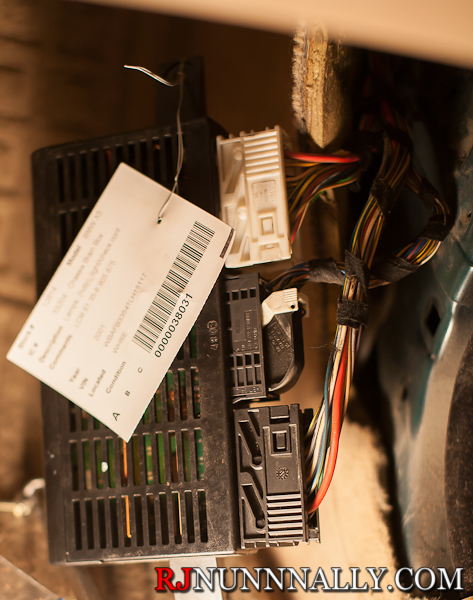
Another shot
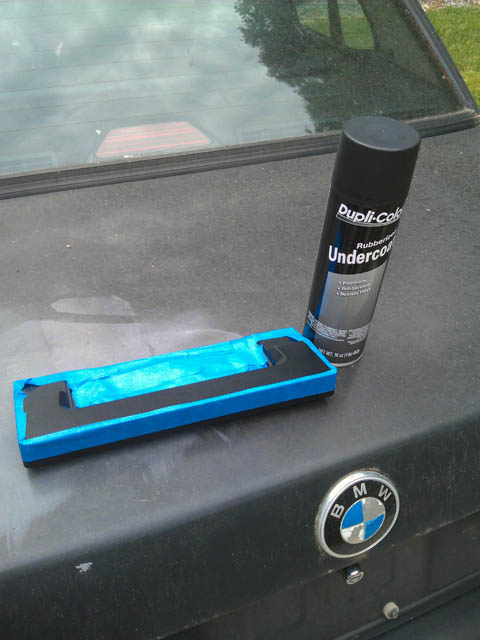
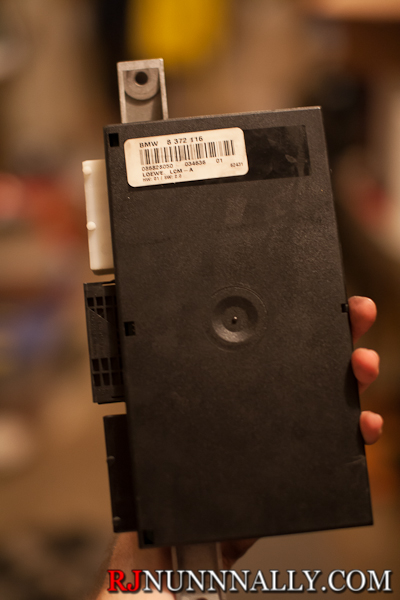
And the old LCM out of the car
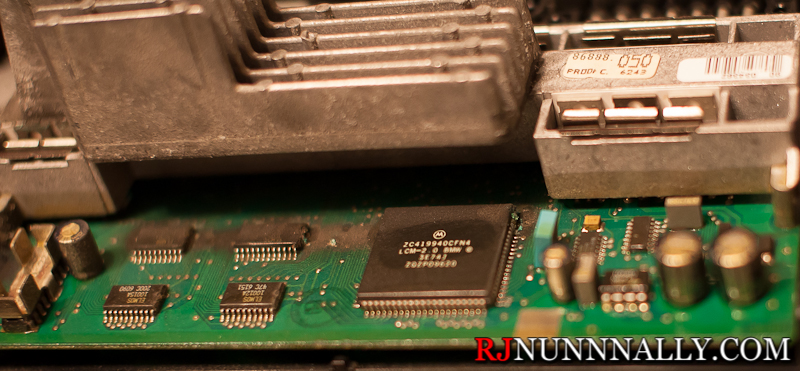
I pulled the old LCM apart to see what went wrong – it looks mine experienced some water damage. Look at the green corrosion on the chip.
Coding is a two step process and requires two different cables – one for PA Soft 1.4 (BMW Scanner) and one for INPA/NCS Expert/DIS/SSS Progman/WinFKP/EDIABAS. I purchased both of mine on eBay. The appropriate software must then be obtained. I used this one from Amazon. I tried to buy from US based sellers and the cables each came in 3 days while the Amazon cable came in two via prime.
For step one of the coding, use PA Soft to set the mileage on the LCM to “0” and the VIN to match your car. This is required for used LCMs because DIS will only code “new” LCMs – or LCMs with the mileage set to 0. This will also allow the car to overwrite the mileage in the LCM and avoid an odometer tamper light. If you are using an LCM from the same age e39, no additional coding may be necessary.
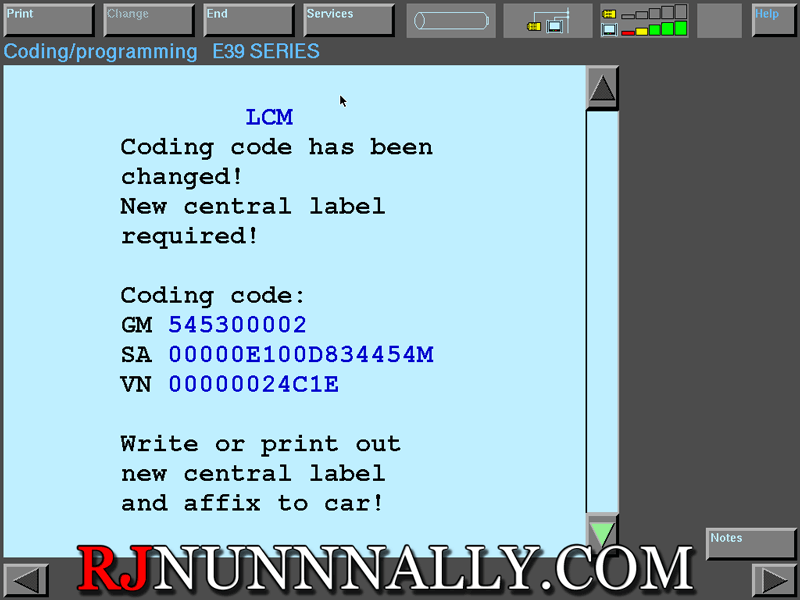
For me, I needed to reprogram the LCM to work with my car since it came from an X5. I coded my car with DIS and it is VERY easy. With DIS started, I selected “coding/program”, then “ZCS/FA coding”, “e39 series”, “recoding” , and finally “LCM.” It then works its magic!
All done!