
One of the problems with swapping in a modern 24 valve power plant into the e30 chassis is that the factory brake booster will not clear the intake manifold on BMW M5x/S5x engines. Several options are available to remedy this, including slotting or redrilling the firewall to move the factory booster over, running no booster at all, and retrofitting a dual chamber BMW booster from an e32. However, the Porsche booster is among the most attractive options because it yields reasonable brake assist with no change of binding, and it works with the existing e30 master cylinder. The 944 boosters are easy to find in your local junkyard or scrapyard making this an economical option.
The first thing you need to know about this retrofit is that 944 boosters come in two flavors – one version is produced by ATE and the second by Girling. The BMW clevis must be threaded onto a 10×1.5mm threaded rod; unfortunately the Girling rod is 12mm, meaning the thread must be ground down to approximately 10mm before threading while the ATE comes from the factory in a 10mm diameter, making the ATE booster a more attractive option. Once this minor, and I do stress minor, issue is resolved, the Porsche booster is a direct swap onto the e30 chassis. Here’s my how-to guide!
Before you get started, you’ll need a 10×1.5mm die. I got mine in a set from sears for $14.99 and it worked great. Note the sears’ die will need the wrench too which is not included with the die set – you’ll either need to buy it seperately or get the whole tap & die kit. I already had a standard tap and die set with the wrench so I opted to get the metric die set only. (Interesting side note – the old tap & die set underneath was made in the USA while my new die set was made in china  )
)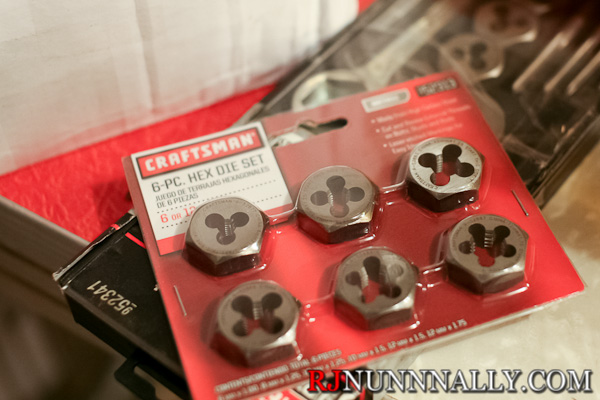
A die like this should do the trick if you won’t use a set.

Champion ST-10×1.5mm Speedthreader M10 by 1.5mm HSS Die Permanently Integrated In Handle With Self-Centering Guide
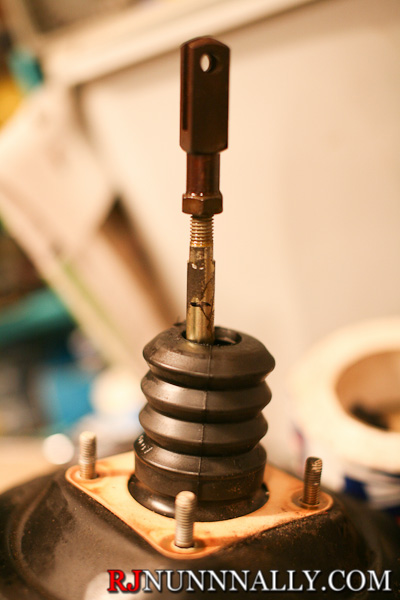
Here’s a freshly pulled 944 booster with the funky extension installed. It’s held on by four 13mm nuts. Remove these and save them for later.
I measured where the jam nut was at on the e30 and transferred the measurement to the 944 booster. This lets you know how far down the rod needs to be ground and threaded.
Now you’ll need to remove the 944 clevis and jam nut. I found it impossible to remove by holding the rod with a 10mm wrench. Instead, I inserted a bolt through the clevis, held the bolt with the vice, and loosened the jam nut with an adjustable wrench. [no pics]
***If you have an ATE booster, you can skip the grinding section***
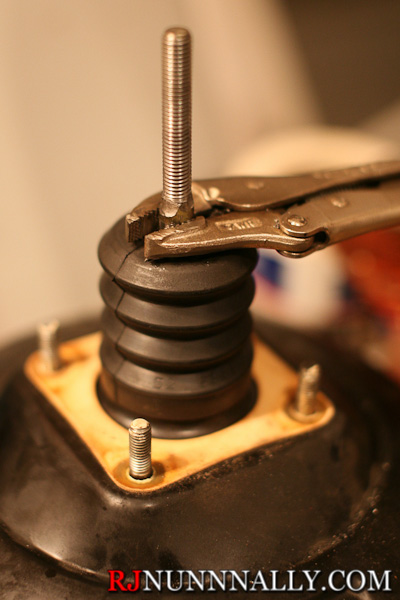
After this is done, it is time to grind down the rod. A bench grinder will do fine, but I clamped an angle grinder into a vice as I thought it was easier to work with. I clamped a pair of vice grips below where I was grinding and used them to turn the shaft while grinding.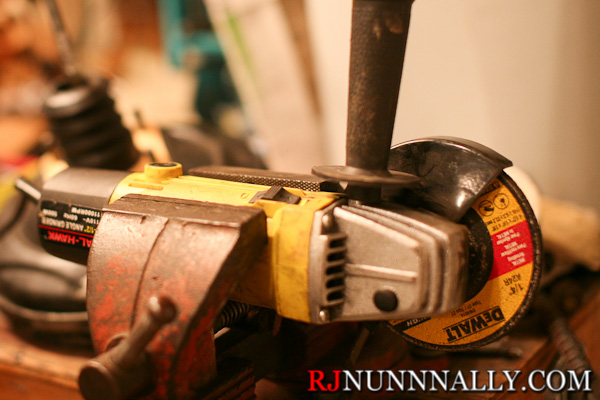
Ground down. It turns out this doesn’t need to be perfect as the die will clean it up. Just get it near 10mm and err on the larger side; the die will cut through a little excess material.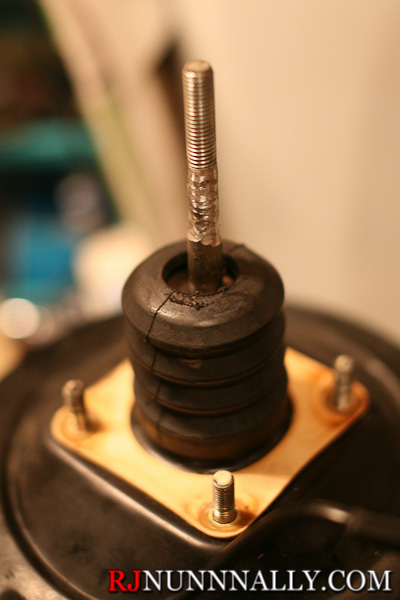
***ATE Boosters skip to here***
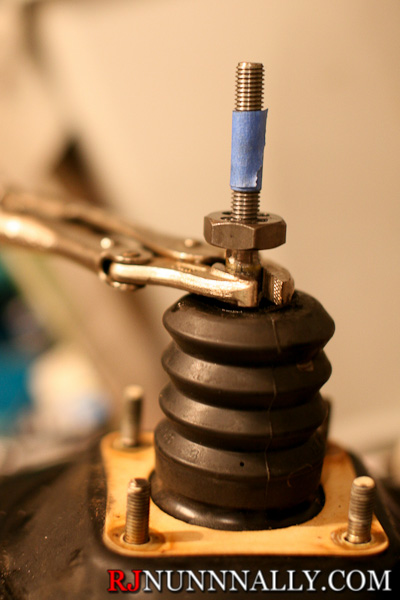
Now it’s time to thread the rod. I again used a pair of vice grips clamped below the jam nut mark. These need to be clamped very securely to prevent the rod from spinning. It will take some ingenuity to prevent the vice grips from spinning, but I clamped the end of the vice grips in the vice which worked fine. Once the rod is secured, thread the 10×1.5mm die onto the existing threads, then continue to thread the die down the rod until it goes just past the jam nut mark. run it up and down the rod a few times until it moves freely, then run it down the rod until it sits at the mark and leave it there for the next step. Threading will require some effort.

The result – I took the die off for the pic, but leave it on for the next step.
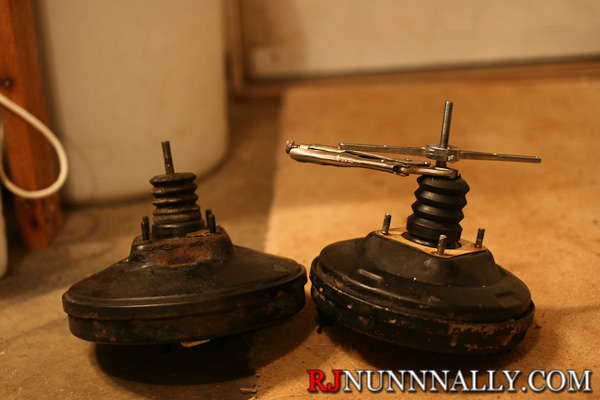
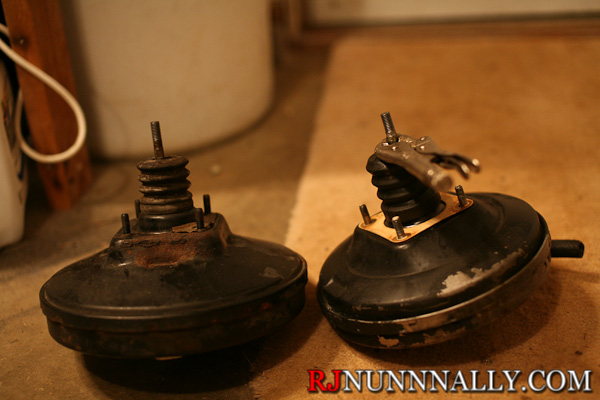
Compared to the stock booster (on left). Notice how much longer the rod is on the 944 booster. This will need to be cut down. Measure the stock booster’s rod length and transfer it to the 944’s rod. I used masking tape as sharpie was hard to see.
the bottom of the masking tape is the cut line. Cut it with an angle grinder or hacksaw. After the cut is finished, take the die off to clean up the threads.
that looks good!
it’s all ready to go back on the car! Use the four nuts you saved earlier to bolt it up. [installed pic coming]
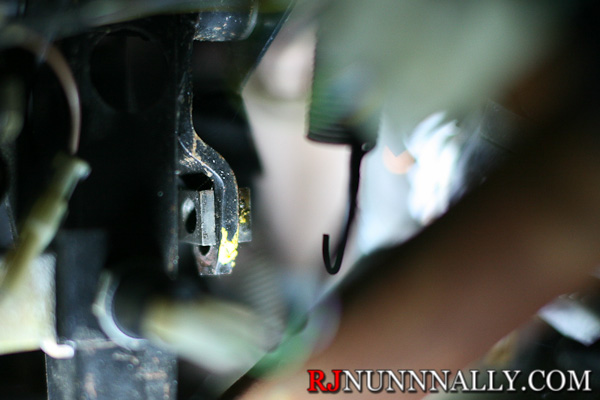
Wow, perfect fit the very first time!!! Seriously, that’s what I found when I went under the dash. It literally could not have been any better.
After this swap is complete, you can expect to have power brakes for your 24 valve swap. Assist is less than the factory booster provides, but still adequate to stop the car well. I can lock the brakes up on my factory non-ABS equipped ’85 in a heart beat. I’ve heard some criticism to the effect of the brakes being too hard, but I’m a small guy and don’t have a problem 😀
Pingback: Fitting an ATE Porsche 944 Brake Booster to an E30 Part II | RJ Nunnally()