
Along with literally thousands of 35mm slides, my family also has reels of home movies still on 8mm film. They were transferred to VHS tape using the time tested method of “project the movies on a white sheet in the attic and record the sheet with a video camera.” While better than nothing, this method has several shortcomings.
- Clarity is poor
- Contrast is non-existent and the image looks washed out
- The video flickers
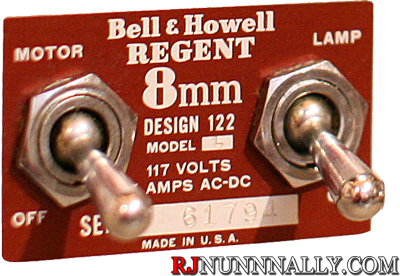
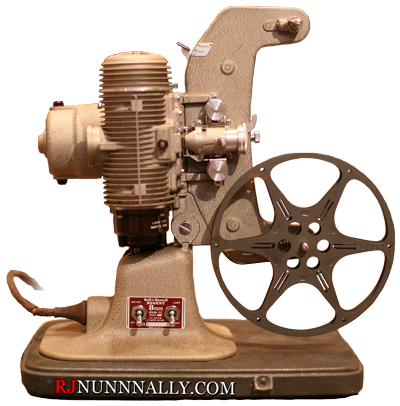
The proper way to preserve film is to scan it frame-by-frame with a telecine. I picked up my family’s trusty old Bell and Howell Regent Model 122 L Standard 8mm projector on Easter and began the planning process to convert it into a telecine. Telecine’s do not need to be complicated devices – in essence, the image from each frame of film must be projected onto an image sensor and the image recorded each time the frame changes. The images are then reassembled (via computer in this case) to make a motion video. For such a machine to be constructed, a few challenges exist:
- How is the video projected onto the image sensor?
- How are frames detected?
- How quickly can the sensor react to frame changes and record an image?
- If below 16 frames-per-second, how is the film kept from burning?
- How is the projector run slowly enough to prevent dropped frames?
- How is the Telecine equipment packaged to fit on the projector and out of the way of the film?
On inspection, the Bell and Howell appears to make a reasonable Telecine platform. The lamp, currently a 500 watt halogen bulb that burns so hot it is air cooled by the fan motor, is easily replaced with a cold LED light source. This will prevent any possibility of the film burning during the telecine transfer process. For frame detection, the model 122 is equipped with a manual frame advance knob on the front. It is spring loaded so as not to turn while the projector is running, but the spring is easily removed so that the knob may remain engaged. The knob makes exactly one rotation each frame advance, making frames easily detectable with nothing more than a crude cam & micro-switch.
For the image sensor, I ruined my Samsung SL202 10.2MP digital camera while vacationing in Japan. Sand became trapped in the zoom lens and the camera failed to operate, but the camera is otherwise functional making it a great platform for this project. To start, I carefully disassembled the camera and removed the zoom lens from the CCD image sensor. With some careful prodding, the camera decided that the lens was “open” and came to life – but with the CCD removed from the lens. The CCD was then positioned in front of the projector’s lens where the image is cast onto the bare sensor. This direct projection will allow for a high quality film transfer.
Packaging constraints are more challenging. Bell and Howell placed the 8mm film reels in front of the lens, exactly where I was hoping to mount the camera. The fit is tight while using 200 foot film reels, but impossible with the included 400′ take up reel. Thankfully the CCD is on a short ribbon cable, allowing the camera itself to mounted out of the way with the CCD directly in front of the projector lens.
The sum of these preliminary steps is a very close to operational standard 8 telecine. A few minor steps have yet to be addressed like shutter control and power delivery on the camera, but overall the project is progressing far quicker than expected. A bonus to using the SL202 is that it outputs video via RCA when it is powered on but not taking pictures. This allows for an unsynchronized, higher quality transfer to tape or DVD. Alternatively, frame capture software can be utilized (via a capture card like this Hauppauge WinTV-HVR-1850) instead of the camera to record each frame at a lower quality but possibly faster rate.
Stay tuned for more updates! I just purchased 8mm film to test the projector / telecine with (don’t use family video for testing!). Pictures to follow.
Continue Reading!