-
Tap and Die Set
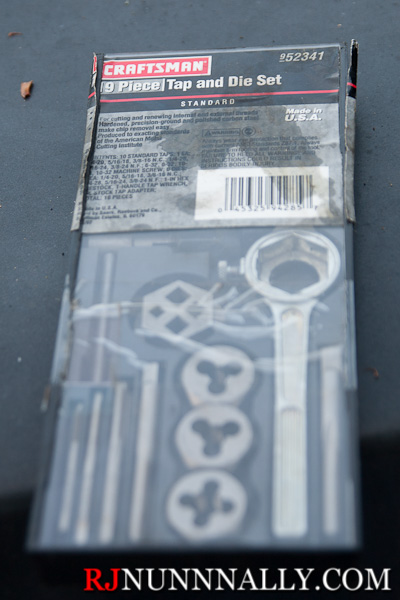
Craftsman Standard Tap & Die Set
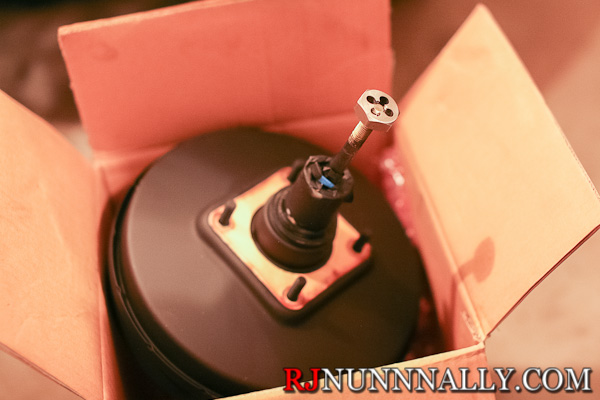
Tap and die sets help keep your projects on track. When a cross threaded or rusty fastener threatens derailment, a die will clean the threads right up! Taps make for tidy and convenient fastener solutions rather than using a through bolt and nut. I even tapped my Holset HX35 turbo so that I could use an off-the-shelf oil feed. This is a tool that is useful to more than just mechanics and can be used for home repairs and other hobbyist projects; I also tapped the custom backplate on the 8mm projector rather than use nuts. (Note: While I linked to a Bosch tap and die set, I personally use a Craftsman set. Craftsman has recently switched to Chinese production and the Bosch set looks to be a quality set.)
-
Pickle Fork

Modified pickle fork
Pickle forks are generally used to remove spent ball joints & tie rod ends that will not be reused (because the fork often destroys the dust boots). On the BMW side, many people elect to use a ball joint puller instead of the pickle fork, but I find ball joint pullers take longer to perform the same job. Ball joint pullers also deprive you of the stress relieving satisfaction of beating the living tar out of your car :-p In addition to ball joints and tie rods, I have found many other unexpected uses for my heavily modified pickle fork. Combined with the power of the BFH, almost nothing is safe from destruction removal! This often useful at the junkyard where preservation is not a priority. From windshield wipers (who needs a special removal tool now!?) to ECU box lids to master cylinders, I have leveraged the powers of my pickle fork.
-
B.F.H.

Four pound hammer
No self-respecting mechanic would ever be caught without their B.F.H. If you don’t already know, BFH is short for “big [expletive] hammer” and they are used to beat things into submission. Exhaust needs “adjustment?” How about that axle that just doesn’t want to seat? Caution must be exercised when using the BFH to prevent unwanted collateral damage.
-
72-Tooth 3/8″ Drive Ratchet
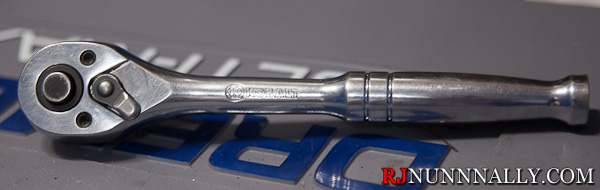
72-tooth Kobalt ratchet
For years I used coarse tooth (30-32 tooth) ratchets and worse yet, I often used very cheap ratchets with the exception of an OG ⅜” Snap-On ratchet. Let me tell you – if you have not used a 72-tooth or better fine tooth ratchet, try one immediately. More teeth means the ratchet requires less movement before it “clicks” into the next position making work in tight spaces much, much more tolerable. I’ve been using a Kobalt ratchet that I paid around $30 for and it has been worth EVERY PENNY. Keep in mind that most fine tooth ratchets will break under less torque than their coarse tooth cousins, so keep a breaker bar or cheap ratchet around.
-
Deep Socket Set

13mm Craftsman Deep Socket
My first experience with deep sockets came when I received my Craftsman toolkit as a gift. Ever since that moment, I have hardly ever put them down – especially the 13mm (pictured) and 10mm sockets. The make short work of nuts on threaded rods and also work pretty well on your standard nuts and bolts. While the slip off a bit easier, they act like a short extension and leave knuckle room. If you don’t already own a deep socket set, I highly recommend you pick them up!
-
Vise-Grips
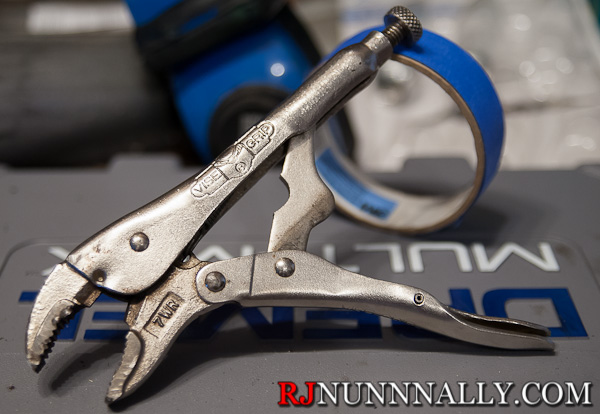
Well used Vise-Grips
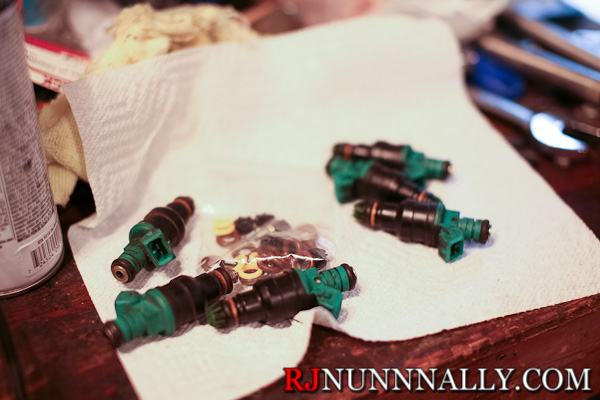
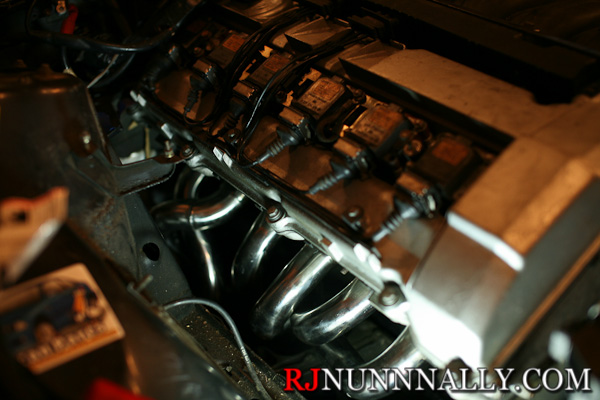
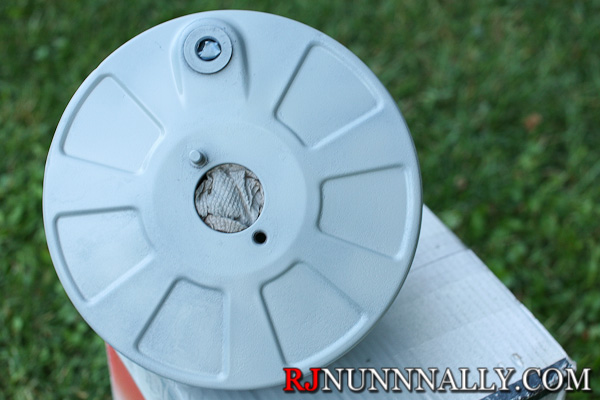
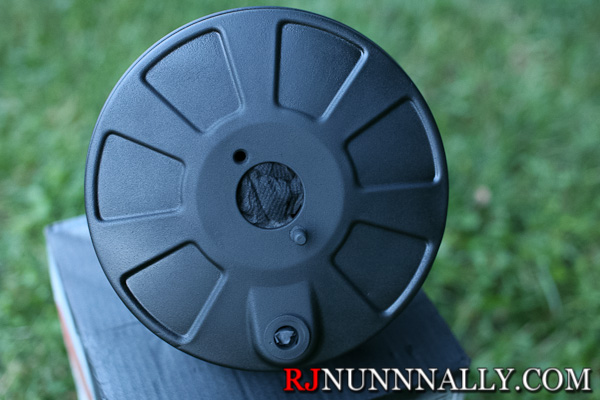
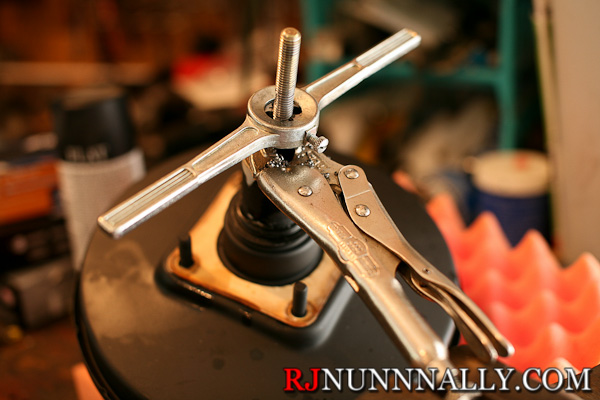
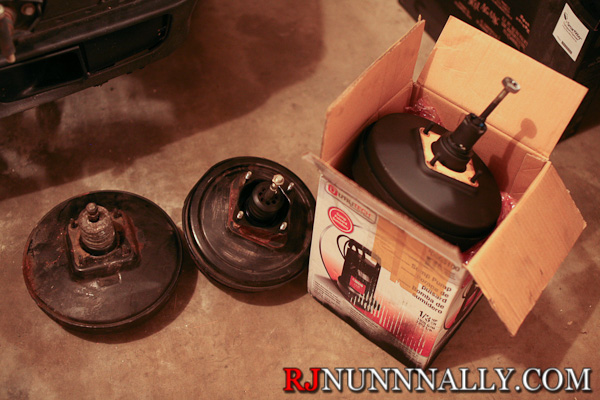
Vise-Grips are the ultimate in infinitely useful tools. Buy the Irwin “Vise-Grip” branded vise-grips as they are the best quality on the market and you will use them in ways you won’t believe. You will often see vise-grips being put to use in my DIY articles; one such example is when I used them to hold the Porsche 944 booster rods in place while the rod was being threaded with the tap and die set. They are useful as extremely versatile and strong clamps, pliers, etc and can be used to muscle parts into position and hold them their. I found them extremely useful while installing the swaybar in my e30 – I used them like pliers to pull the brackets together and then locked them in place to clamp the brackets together while I installed the sway bar bracket bolts.
-
Bench Vise

Wilton “Shop King” Vise
A vise is another tool everyone, and I mean everyone, should have. Vise’s are great when you absolutely need to hold a part in place for cutting, filing, sanding, welding, and so forth. Vise’s transcend auto mechanics and are also useful for arts and crafts, home repairs, bicycle work, and more.
-
Angle Grinder
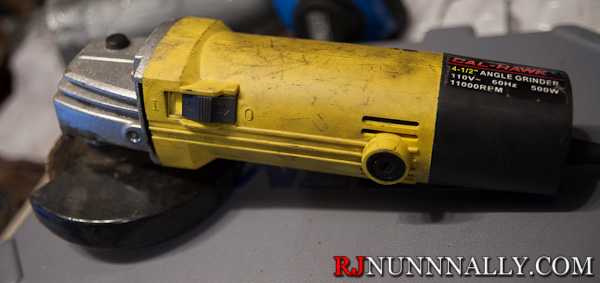
Cal-Hawk Angle Grinder
Another destructive tool, I have found the angle grinder to be among my most used power tools. I originally bought my angle grinder to cut and shape exhaust tubing for my 540i, but have hardly put it away since then. When I parted a rusty Oldsmobile Bravada, I used it to cut the transmission crossmember out of the way and gain access to the transfer case. Any time I do exhaust work, I buy new hardware and just cut the old hardware off (it usually breaks anyway from being seized) making the angle grinder a huge time saver. The 944 booster even got in on the angle grinder action when I shorted the threaded rod after extending the threads. Think of it like a hacksaw on steroids, all for the low, low price of $30!
9. Dremel MultiPro Rotary Tool
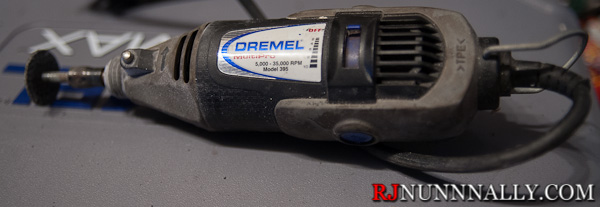
Dremel MultiPro Model 395
Dremel’s are such a quintessential tool that the very name has become a verb not unlike Google or Xerox. As the above illustration clearly shows, my personal dremel has been heavily used through the years and now wears its grime and battle scars with pride. I commonly pair it with the reinforced cut-off wheels [insert link] to make an angle grinder in miniature, but it can also be used to drill, sand, or otherwise shape objects into anything you desire. Dremel’s are nearly indestructible workhorses and make for a worthy addition to your tool chest.
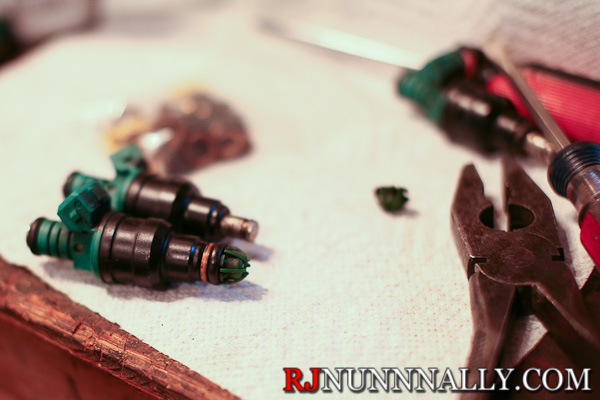
10. Linesman Pliers
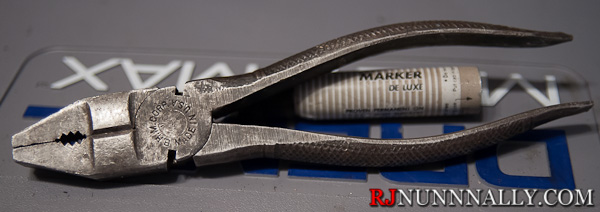
BHM Lineman’s Pliers
A quality set of pliers is a must for any handyman, including automotive enthusiasts. They are used to pull, twist, and cut wires. Lineman use these for heavy electrical work, but these pliers are remarkably well suited for automotive and household work. Whether you use them to wire up sagging exhaust on your beater or to cut new lengths of wire to length, you are sure to find a use for a quality pair of Lineman’s Pliers.