After fitting the longtube headers per this post, I had to fabricate the rest of the header back exhaust. I completely green fielded this exhaust and opted to go completely custom rather than try to adapt an e30 or e36 catback. My plan was to Y the headers together into a single 3″ exhaust pipe and run a rather loud Thrush 17661 Welded Muffler. Due to packaging challenges, I wanted to make the Y section removable so that the headers can be removed or installed with the engine in the car.
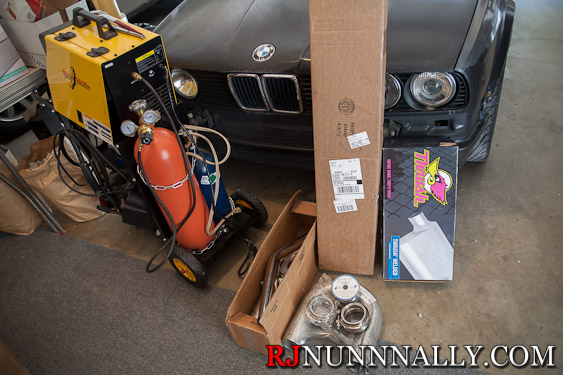
Exhaust parts – or trying to wear out the credit card
Close Up
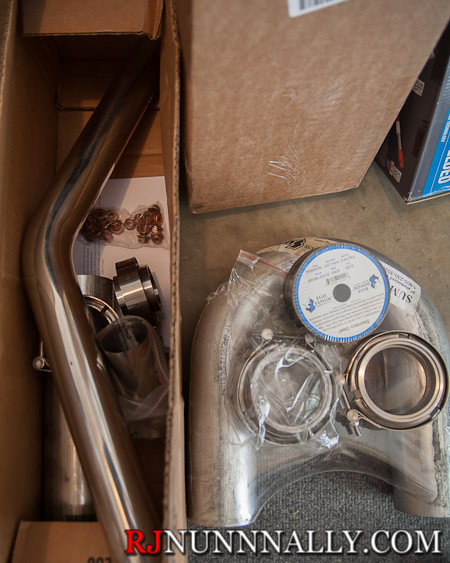
So, what all did I order?
- 24x 7mm copper exhaust nuts (exact item on amazon)
- 2″ Stainless Steel Mandrel Bend 45 Degree Elbow
(eBay)
- 2x 2″ stainless steel v-bands (eBay)
- 3.0″ Stainless Steel V-Band (eBay)
- 3.0″ Mild Steel V-Band (eBay)
- ER309L Stainless Steel MIG Welding Wire 2-Lb Spool 0.030″ (0.8mm)
(.023 pictured, .030 is probably more appropriate)
- 3″ Stainless Steel Straight Tubing – 1 Foot (12″)
- 3″ Mild Steel, 180 Degree Mandrel Bent Elbow
(didn’t use)
- 3″ aluminized / mild steel exhaust tubing
- Thrush 17661 Welded Muffler
- O2 Sensor Ring, Weld-on, Mild Steel, 18mm x 1.50 Pitch
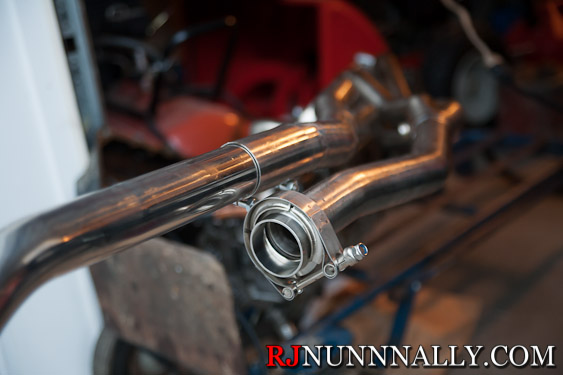
I started by breaking out a spare head and mounting the headers so that I could mock the Y section up off the car.
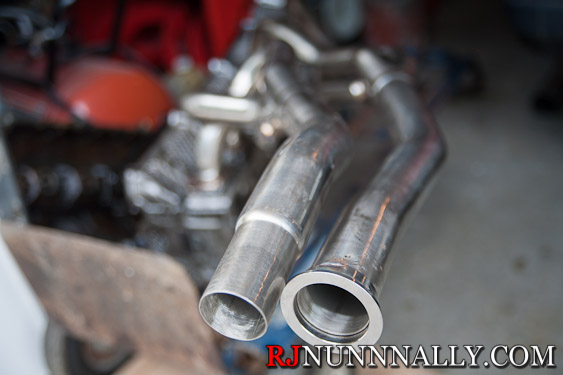 Note that these cheap headers neck down to 1.75″ on side but stay 2″ on the other side… very odd indeed. I tacked on the first 2″ v-band for fitment in this picture. Also notice that the 1.75″ side has a bend that causes it to intersect & interfere with the other side. This is fixed by cutting it at the bend.
And another angle
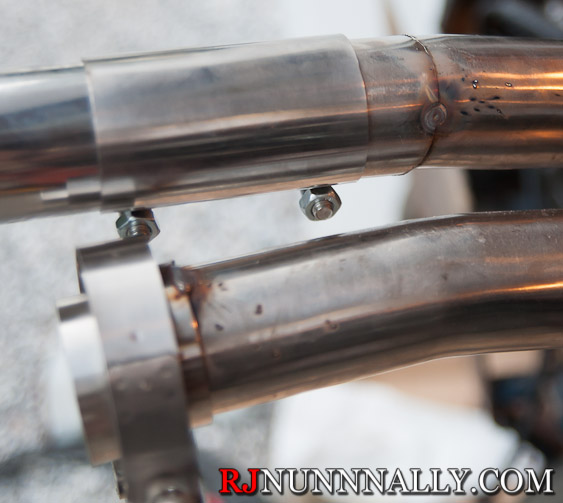
I should also take the time to mention that I have very little experience with welding, so please take it easy on me! The 2″ sleeve clamp pictured came with the headers and I actually decided to use it after seeing how tight the clearance would be with two v-bands – perhaps I’ll update the design to use both v-bands in the future. I continued to work on the Y and used the 2″ stainless tubing with the 45″ mandrel bend to make the Y.

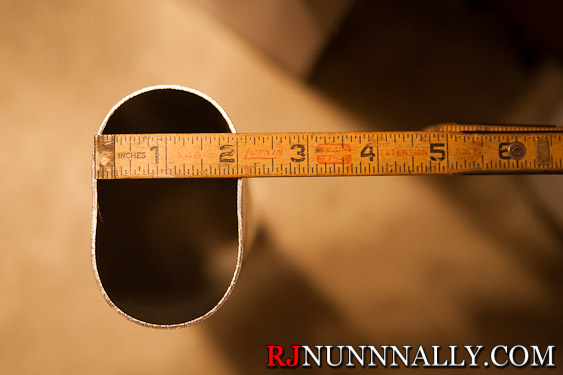
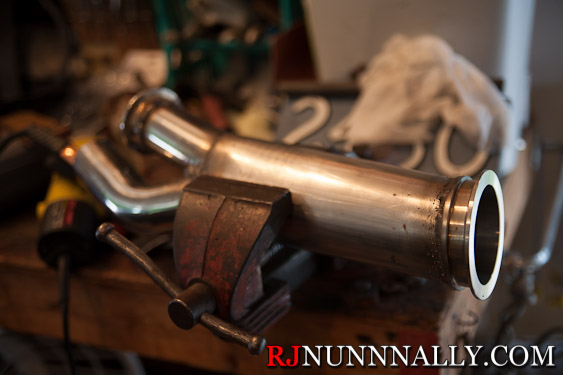
This was then dumped into a 3″ stainless steel tube. I clamped one end of the 3″ tubing in a vice until it was flattened to 2″ on one side.
Then it was all welded up, and a 3″ stainless v-band was welded on.
I didn’t want to spend a lot of money at this time, so I continued the rest of the exhaust in aluminized, mild steel. Stainless steel and mild steel expand at different rates and should not be welded together, although ER309L can do it. Because they expand at different rates, any welds between stainless & mild steel tend to crack after they have been heat cycled many times. I addressed this problem by using the v-band as the transition point. I bought identical 3″ stainless & mild-steel v-bands, then used one stainless v-band and one mild steel v-band to join the mild steel exhaust to the stainless exhaust. The mild steel exhaust section is not pictured as it is very simplistic.
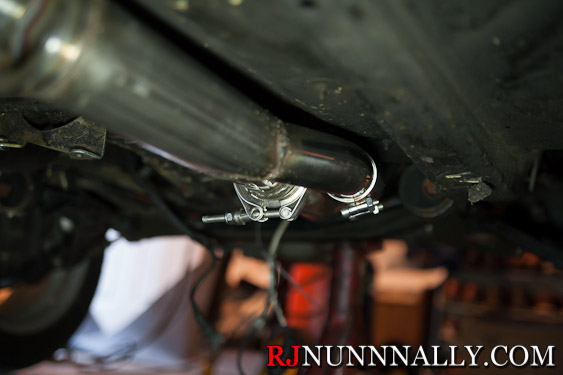
Fitment under the car
And showing where the 3″ section begins under the car
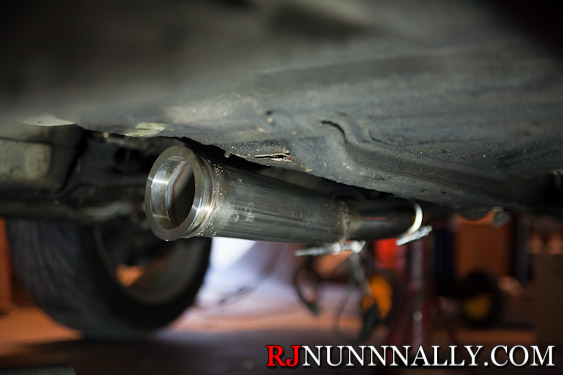
Finally, here’s the end product
Video:
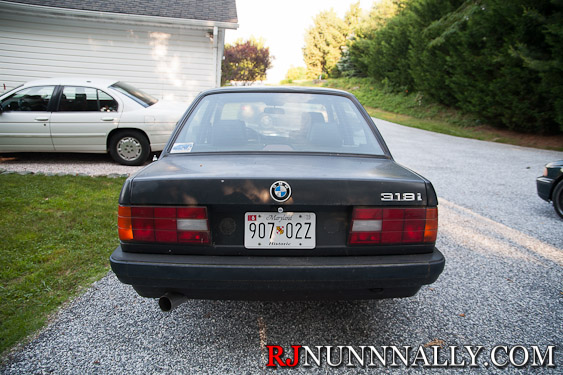
Closing notes – the exhaust is LOUD and raspy. When I say, I actually got pulled over on the way back from the alignment shop, maybe 12 miles after the car was running. The LEO said, and I quote, “Dude, your exhaust is WAY too loud. I heard you a mile away!” I would suggest getting a different muffler or at least adding a resonator. The 3″ tubing is also very large. 2x 2″ exhaust actually flows better, but it doesn’t hang as low under the car. The 3″ hangs low under the rear subframe and looks like it could easily scrape. Other than that, it worked out pretty well!