My ’91 BMW 318i e30 arrived with a partially completed 24 valve M50 swap. One of the problems with the 24 valve motors is that the intake manifold does not clear the factory brake booster which leaves about three common options:
- (Re)Drill or slot the firewall to move the factory brake booster over about 3/4″. This is not recommended as the linkage can bind.
- Fit an e30 325iX or e32 735i “double” brake booster (they’re basically the same) and use the appropriate master cylinder. This option is supposed to provide additional brake assist and the booster does not need to be modified. However, the booster is a good deal deeper which requires that the brake lines be bent to fit and it requires that a remote mount fluid reservoir be used so that the master cylinder will clear the throttle body.
- Fit a Porsche 944 brake booster and use the factory master cylinder. Of course, the booster needs to be modified to fit the e30 and the degree of modification varies depending on if the booster was made by Girling or ATE. I already covered the Girling booster here.
The previous owner of the ’91 opted for option two, and indeed an e32 brake booster & master cylinder were mounted in the engine bay. I did not like this setup to begin with as the booster rubbed against my throttle cable & caused it to bind. Additionally, the master cylinder sat so close to the throttle body that it made it hard to work on the engine and the remote reservoir give the engine bay a clean, factory appearance in my opinion. The straw (or two ton weight as it were) that broke the camel’s back came when I fired the engine up; I had a massive vacuum leak that turned out to be the brake booster itself. Rather than replace the e32 booster with another e32 booster, I opted to buy a factory ’91 318i master cylinder and reservoir, and a “low miles” 944 booster.
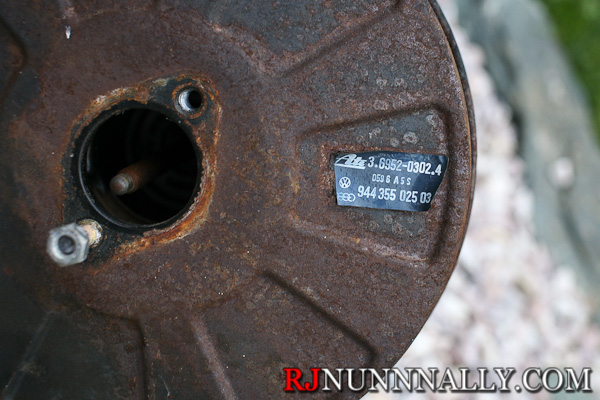
Rusty ATE Porsche 944 Brake Booster
I was in a time crunch so I purchased this booster on an enthusiast forum rather than pull
it myself. The seller did not post pictures, but informed me that the booster held a good vacuum and actually came out of a 944 with “85k miles.” Sound good! Imagine my surprise when this rusty thing showed up, complete with a missing stud.
No matter, I’ll clean it up. First step – remove the barely attached sticker and protect the inside of the booster from debris. Next step – wire brush, then sand, all the loose rust off!

Prepped Porsche 944 booster
Then add a couple coats of primer. This is just cheap 97 cents-a-can primer from walmart.
944 booster wearing a fresh coat of primer
Follow up with real paint. I used Rust-Oleum Satin Enamels Black that is supposed to help prevent rust. Truthfully, I used what was around the house but I’m very impressed with how the paint turned out!
Second coat of black paint, still wet!
And here’s the finished product. I think it came out great! And I was even in a rush – it was getting late and rain was coming in the next day, meaning that this booster was slated to be installed before I’d have another chance to paint.

Final paint on the 944 booster
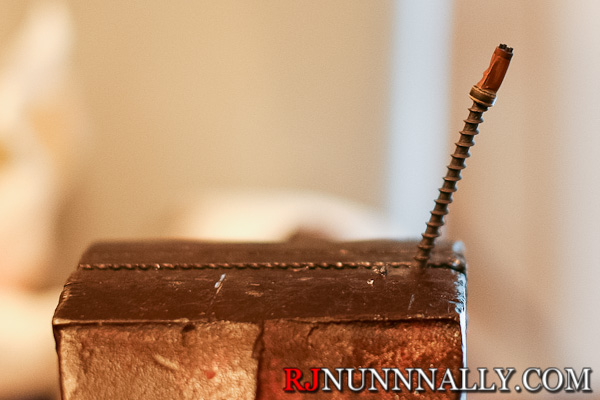
Now that the booster looked respectable, some more work had to be done before fitting it to the e30. On the ATE, the modifications are simple – extend the 10×1.5mm threads (using a die like this) and chop off the excess rod so that it matches the factory e30 booster. Also remove that bowl Porsche bolts on their boosters – it’s not needed on the e30.
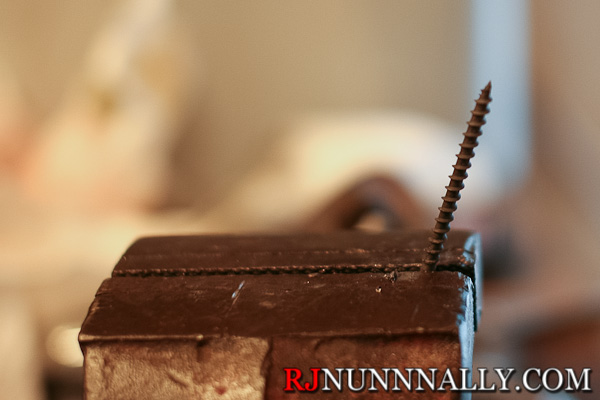
Here’s the factory threads on the ATE booster. Note that the rod is smaller in diameter than the Girling version.

Factory ATE 944 booster threads
The threads need to be extended to near the boot.
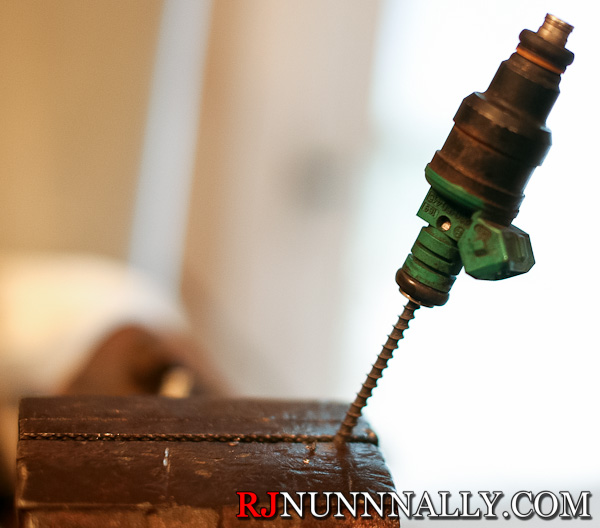
Threading on the die
I use a Craftsman die that requires a tap & die to use. If you already have the handle, you can save money buy buying this 10×1.5mm die instead. Make sure to use some sort of lubricant, like automatic transmission fluid (ATF), and run the die down the threads.
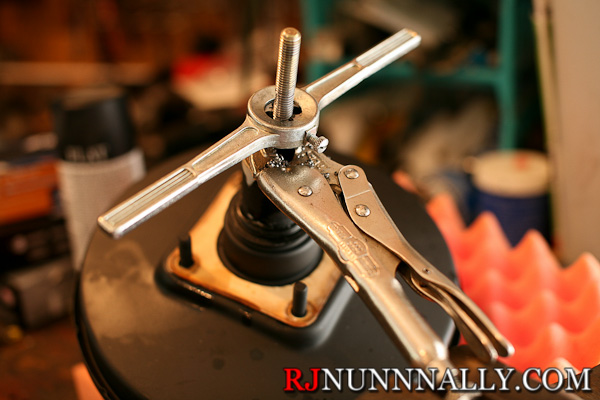
Threading the 944 booster
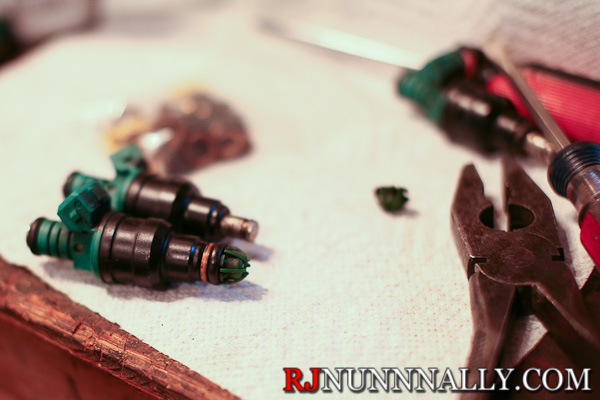
I use Vise Grips with the end in a vise to the hold the booster’s rod in place. You do not want to turn the rod on the booster a lot as it can rip the internal diaphragm and destroy the booster. After you are done threading, measure the factory e30 booster rod, transfer the measurement to the 944 booster rod, and cut the rod to length using a hacksaw or angle grinder. You are now ready to transfer over the e30 clevis & install the booster!
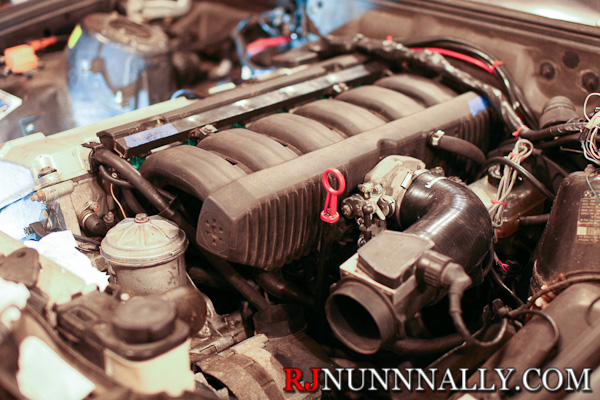
Installed 944 booster!
And there’s my installed 944 booster. Finally, I leave you with a shot of all three boosters.
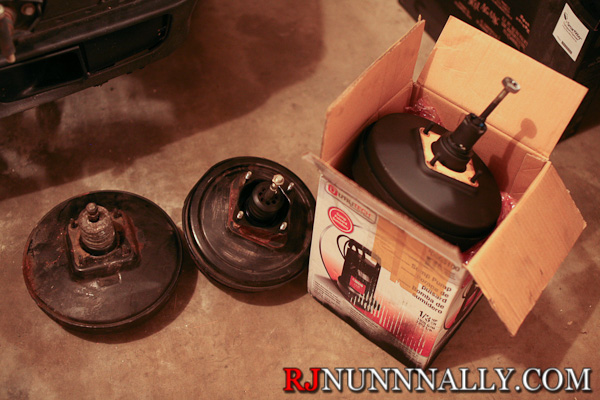
e30, e32, and 944 boosters
From left to right – factory 1985 325e brake booster, e32 735i brake “double” brake booster, and the Porsche 944 ATE brake booster.
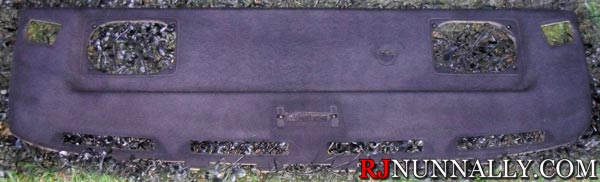
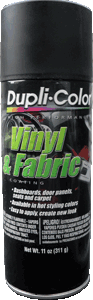 Now, get yourself a couple cans of vinyl dye. I used Duplicolor as seen here. One can will probably get the job done, but pick up two to be safe. Spray many light, consistent coats in many directions to get full coverage. Vinyl dye is more forgiving than spray paint, but if you go heavy in one place – well, you’ll need to go heavy everywhere for it to look right! You will be fine just spraying dye on the parcel shelf, but for carpet or other “deep” fabric, the dye will need to be brushed into the fabric for full coverage. Once you get one good coat, let it dry for 15-30 minutes, then hit it again. I went with at least three coats to achieve my final finish. Again, vinyl dye is forgiving – it doesn’t really run and just gets absorbed into the material, but heavy applications will make cloth materials feel stiff.